Are you a mobile application developer, And Are you finding for better place to build your app automatically ? Are you searching for a product for implement CI/CD process for React Native mobile apps?
You are in the right place. Follow the guide for implement CI/CD Process for your mobile application development.
Step 1. Sign up with App Center at appcenter.ms
When you go to the Visual Studio App Center you have to signup to the portal using OAuth or using other SSO services and then you are ready to develop your CI/CD Process :)

Step 2. Create a new app
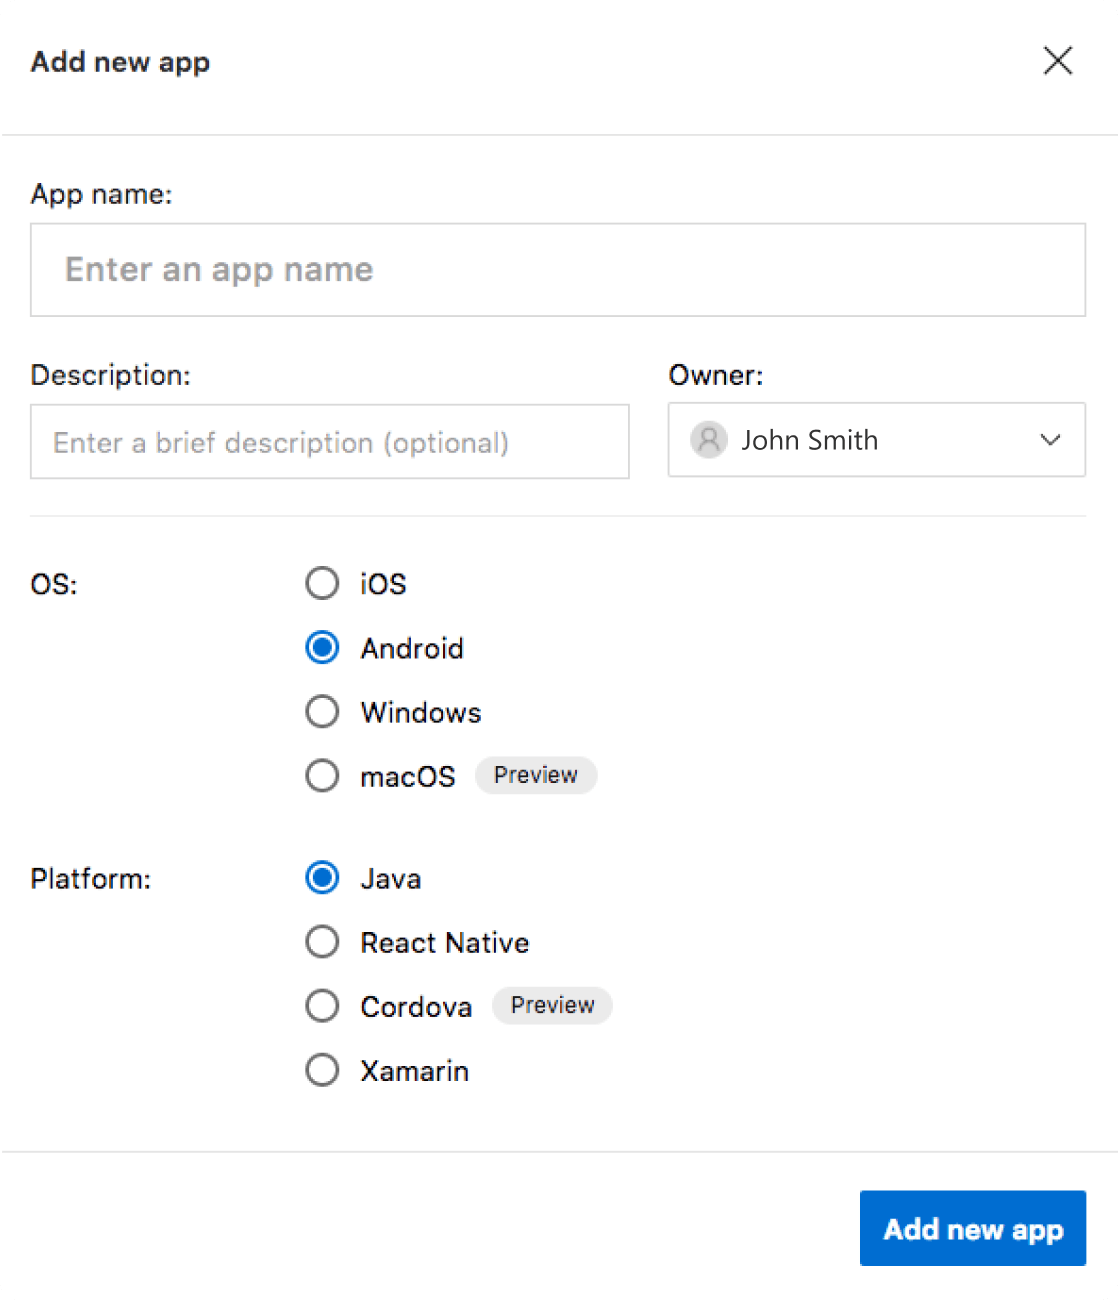
Now you can create your own application development process. For that you need to create a new application in the VSAC,

You can select Select “Add new” button for adding a new application. You can provide a name and description to your app and you can select your application development OS and Platform for integrate the CI/CD process.
Step 3. Configure your repository
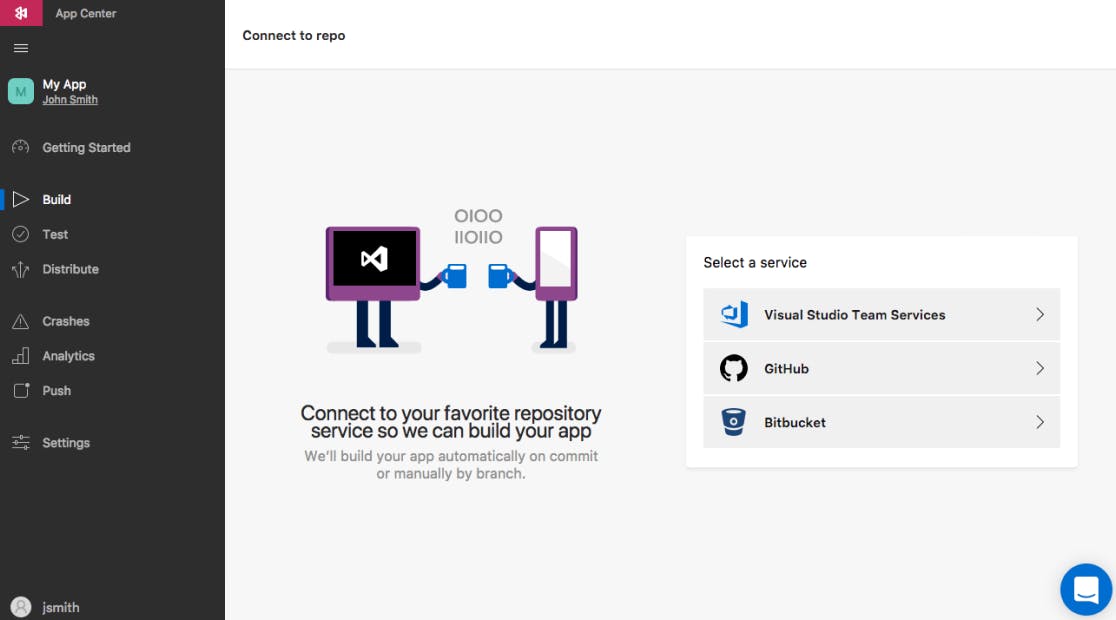
Now you are ready to connect your git repository with the VSAC(Visual Studio App Center). For Connect the repo select the Build service from the sidebar, then it will ask for your development repository to select.
Once authenticated, App Center retrieves your source code. Select the app you want to build from the list.
Step 4. Configure your Build & Distribute
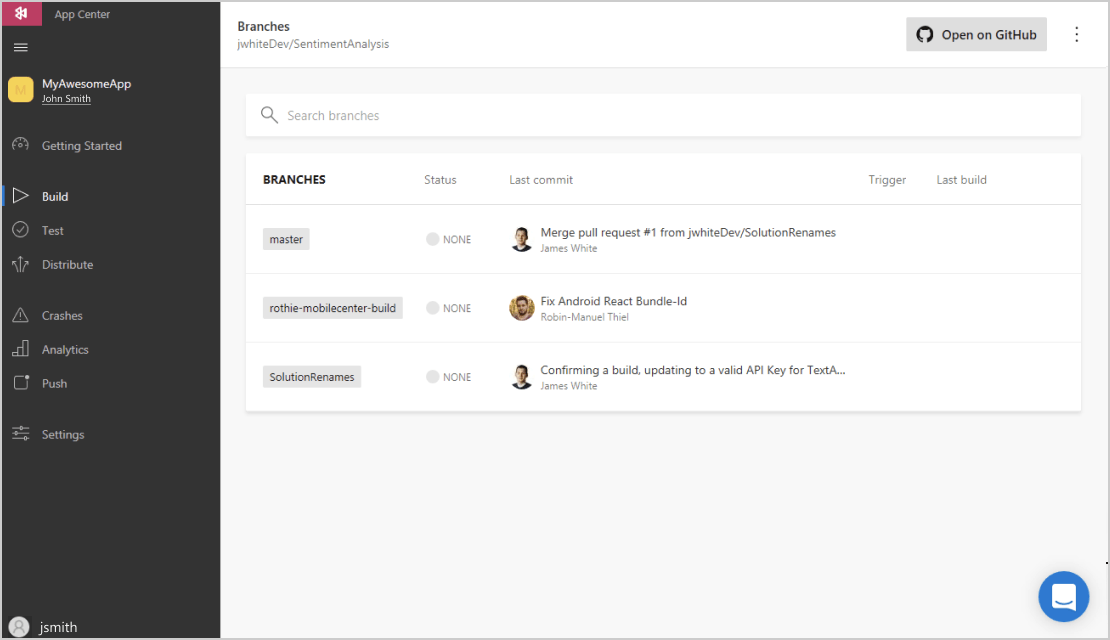
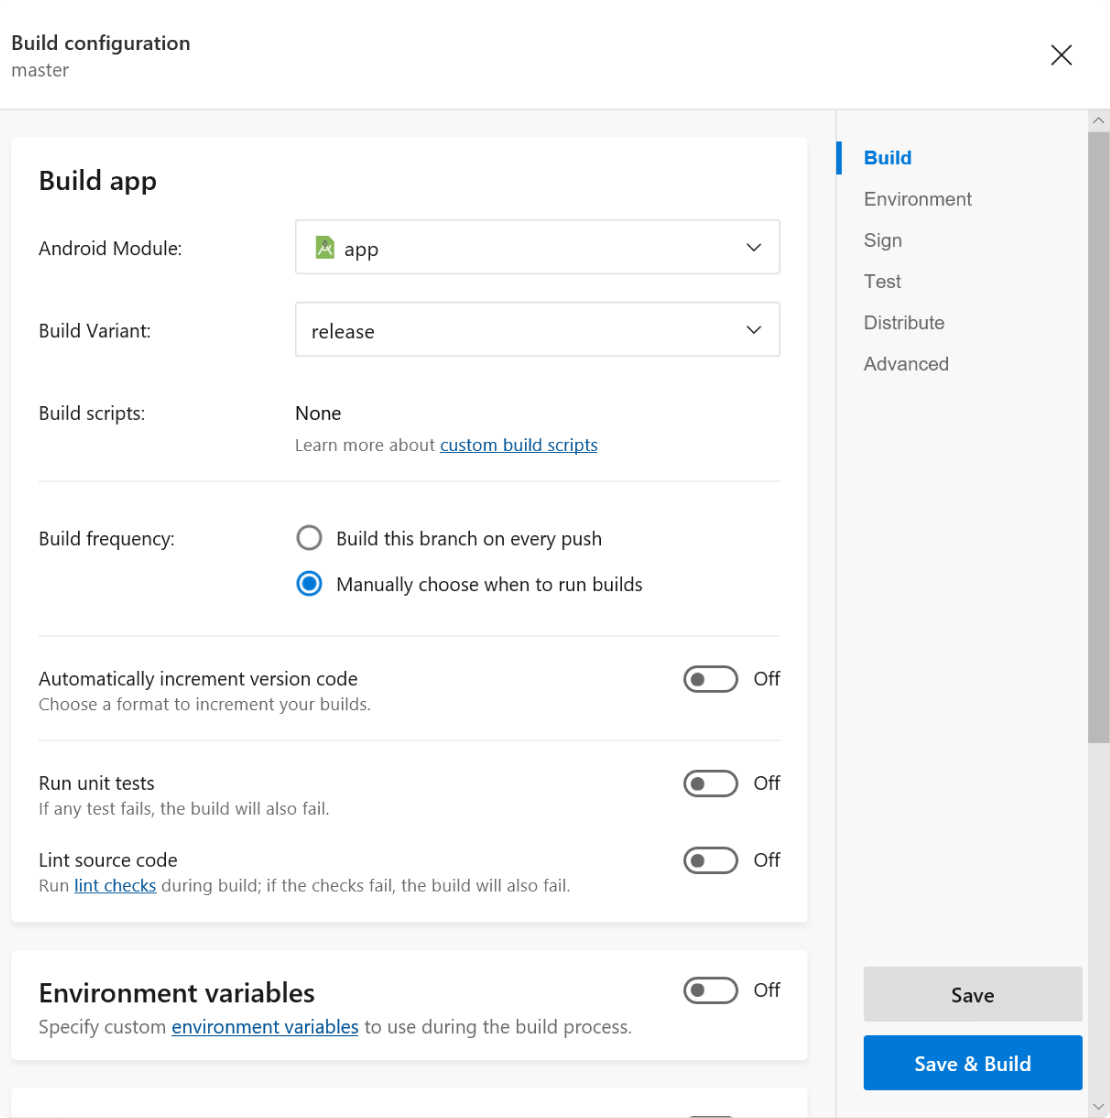
Now your repository is already linked with VSAC, and all the existing development branches are listed in the build panel. You can select your branch you want to build and then you can Configure the build process.
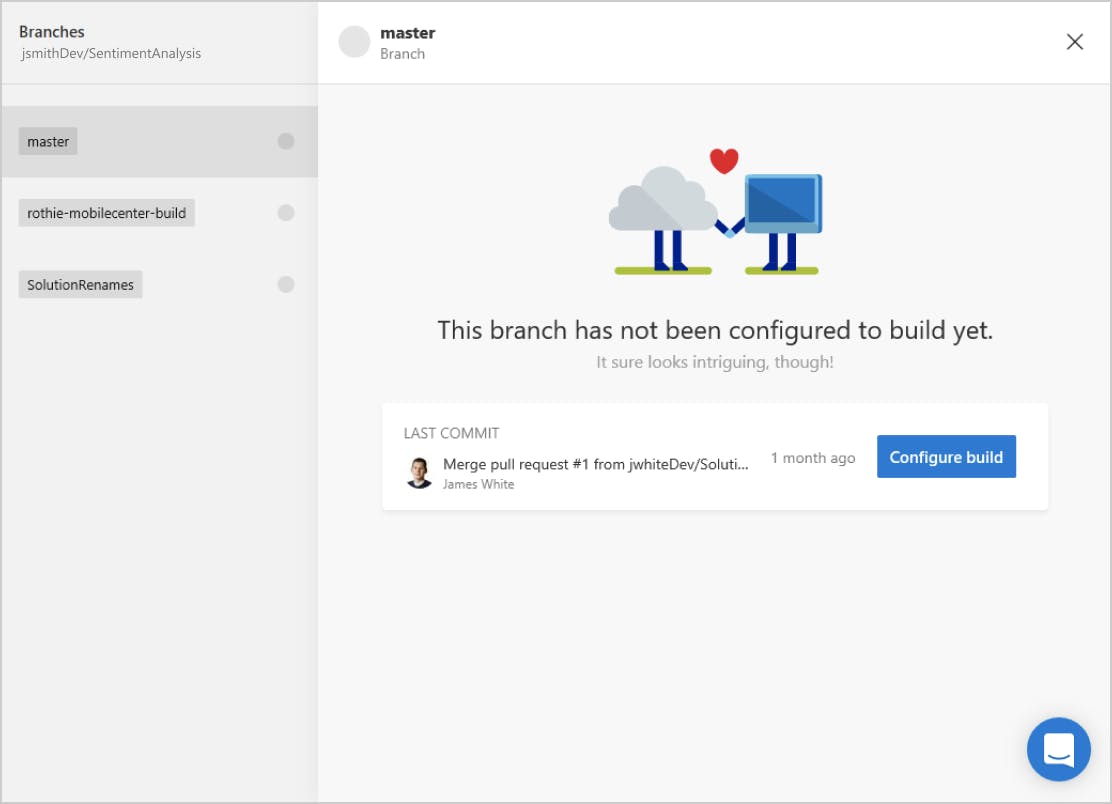
You can select Configure Build option to setup your configuration for the CI/CD process.
You can toggle Distribute builds, which will automatically send a download link to you via email once the build is complete. Finally, press Save & Build to kick things off.
Step 5. Install your app
Once the build has run to completion, a successful build will generate an email automatically that is sent to you

r device with an install link.
Now you can configure your mobile application development process with Visual Studio App Center !!!!

